Published: September 28, 2026 · 12 min read
Dockerfile Instructions Explained — FROM to VOLUME
Every Docker image starts life as a plain-text file, and this guide walks through Dockerfile instructions explained one by one — all 13 of them, with what each instruction does, what Docker actually does internally when it hits that line, and the classic pairs that show up in every DevOps interview: COPY vs ADD, CMD vs ENTRYPOINT, ARG vs ENV. The previous lesson explained why Docker exists — containers, images, and the shared kernel. Now the Dockerfile vocabulary has to be second nature — every deployment, whether a single Node.js API or a full micro frontend architecture with one Dockerfile per remote, starts from these 13 instructions, and a mistake copied across eleven services is eleven broken deployments.
In this guide, you will:
- Understand what each of the 13 Dockerfile instructions does —
FROM,WORKDIR,COPY,ADD,RUN,ARG,LABEL,ENV,CMD,ENTRYPOINT,HEALTHCHECK,EXPOSE,VOLUME - See what Docker does internally at each step (layers, temporary containers, the build cache)
- Master the three classic interview pairs:
COPYvsADD,CMDvsENTRYPOINT,ARGvsENV - Learn why
EXPOSEdoes not open a port and why containers lose data without volumes - Read a complete production-shaped Dockerfile and know exactly what every line contributes
- Walk away with the build-time vs runtime table that answers the most common Docker interview question
1. FROM — The Foundation
FROM tells Docker which base image to start with. Imagine building a house: you don't start in the air — you start with a foundation. FROM is that foundation.
Internally, Docker checks whether node:22 exists locally; if not, it downloads it from Docker Hub (opens in a new tab) and uses it as the first layer of your image. Everything else stacks on top.
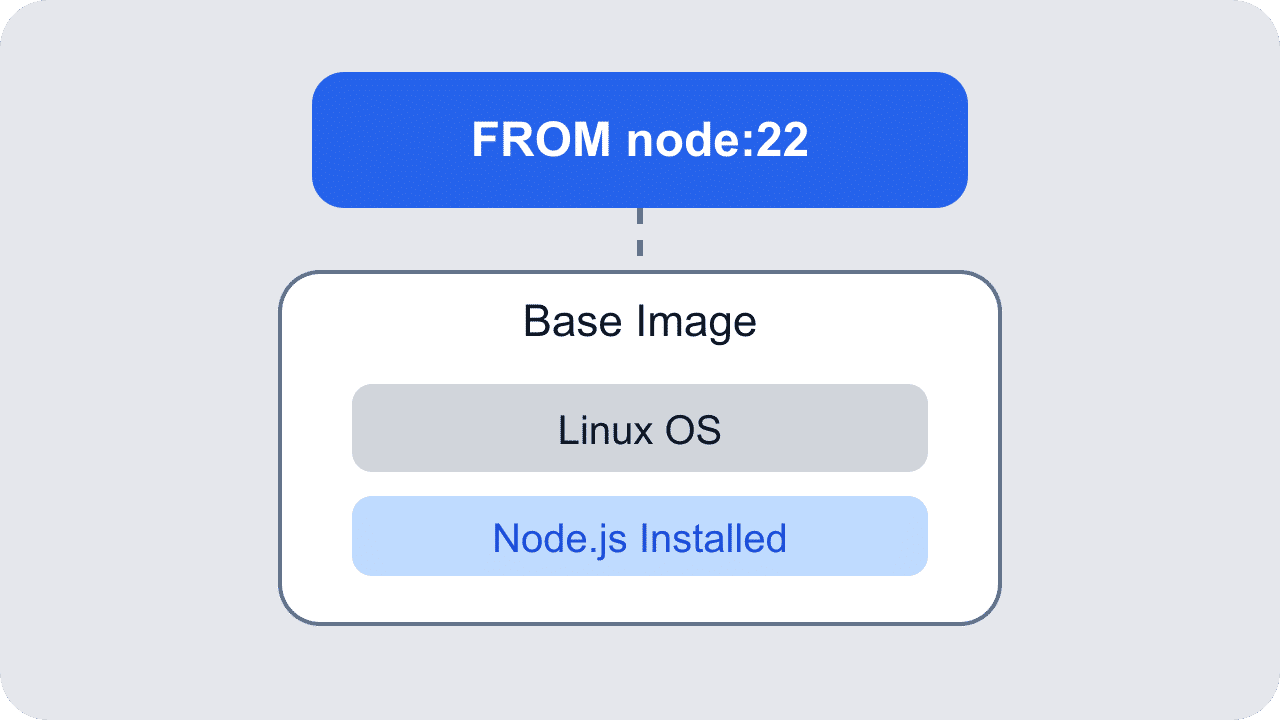
Rule: every Dockerfile must begin with FROM. The only things allowed above it are comments and ARG declarations used by the FROM line itself.
2. WORKDIR — The Current Folder
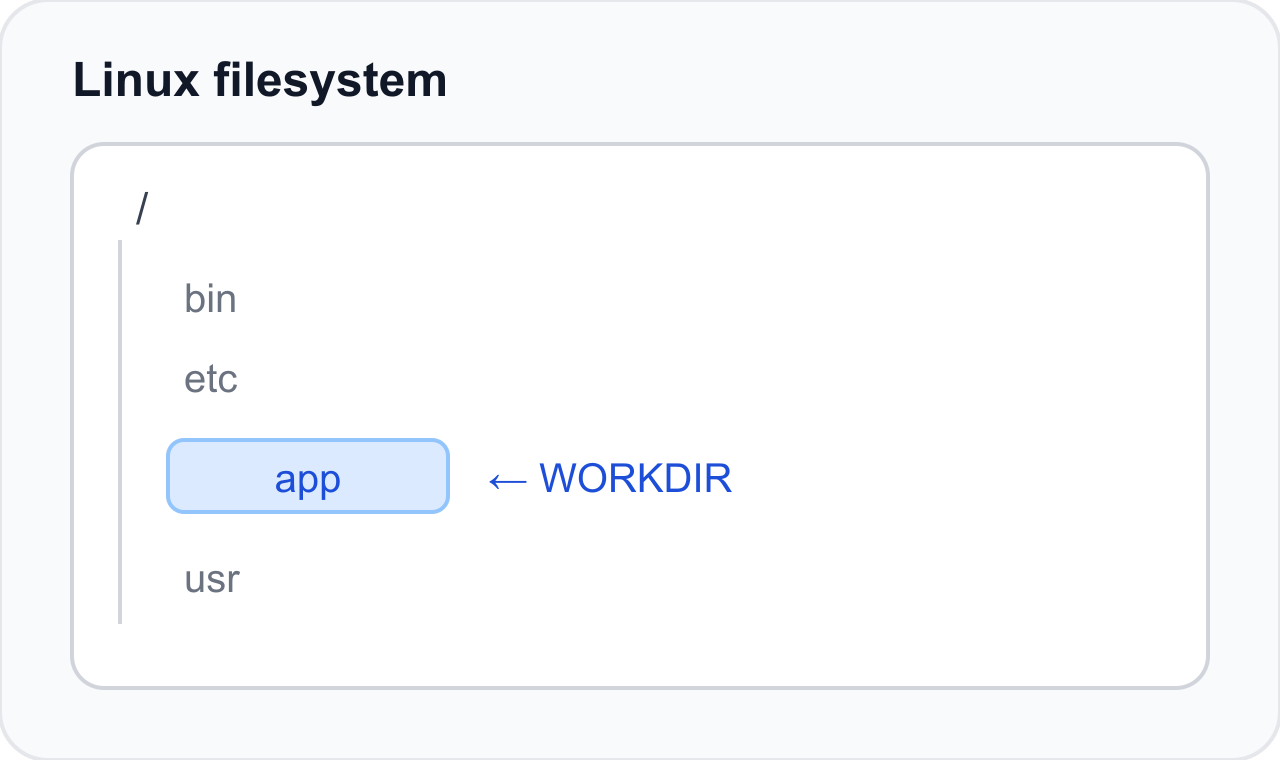
WORKDIR sets the current working folder inside the image. Without it, Docker works from the root (/) — and your app files end up mixed into the Linux system folders.
Think of WORKDIR /app exactly like cd /app — except it becomes permanent for every following Dockerfile instruction, and Docker creates the folder if it doesn't exist.
3 & 4. COPY vs ADD — Getting Files In
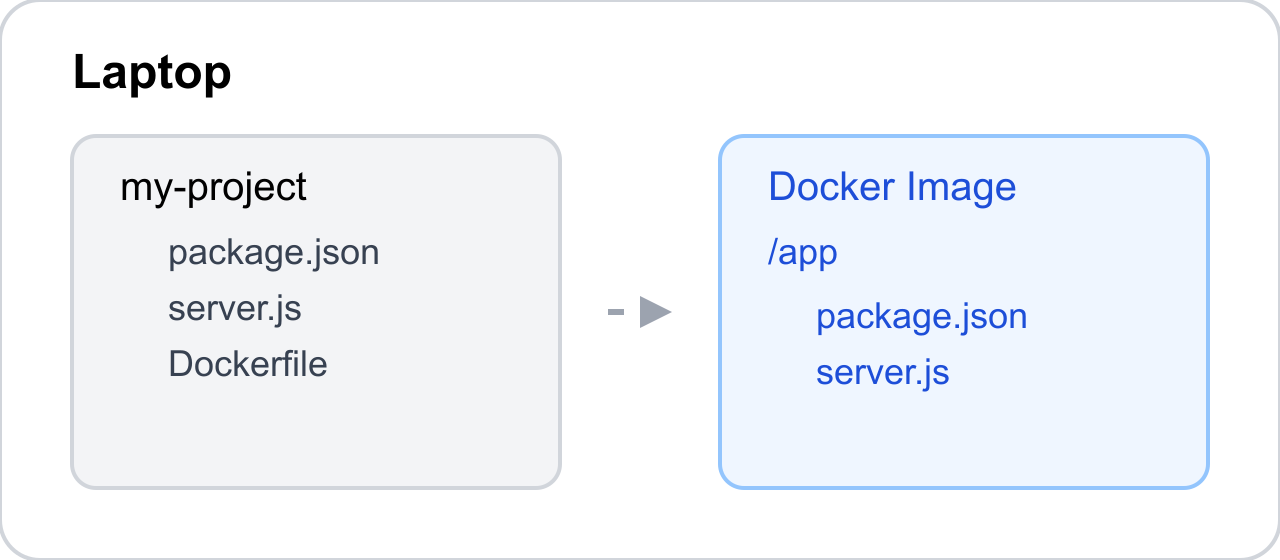
COPY copies files from your computer into the Docker image. ADD does the same — plus two extra features that you almost never want.
With COPY . . the first dot is the current folder on your laptop, the second dot is the current WORKDIR inside Docker — so if WORKDIR is /app, your whole project lands in /app.
| COPY | ADD | |
|---|---|---|
| Copies files | ✅ | ✅ |
Auto-extracts .tar.gz | ❌ | ✅ |
| Downloads URLs | ❌ | ✅ (not recommended) |
| Recommendation | Default choice | Only when you need extraction |
5. RUN — Execute While Building
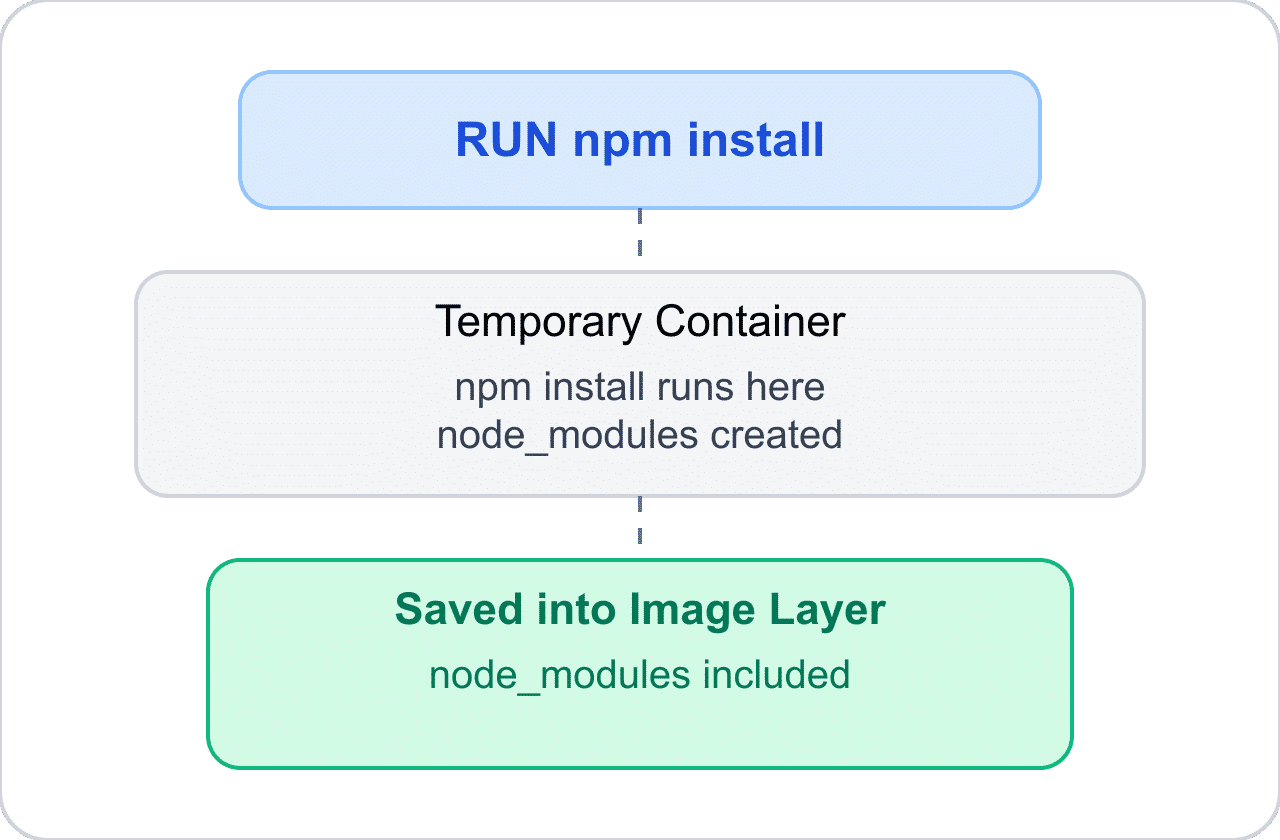
RUN executes a command while building the image and saves the result as a new layer. This is where dependencies get installed.
The internals are worth knowing: for every RUN, Docker starts a temporary container, executes the command inside it, saves the changed filesystem as an image layer, and throws the temporary container away. That layer is cached — rebuild without changing package.json and npm install doesn't run again.
6. ARG — Build-Time Variables
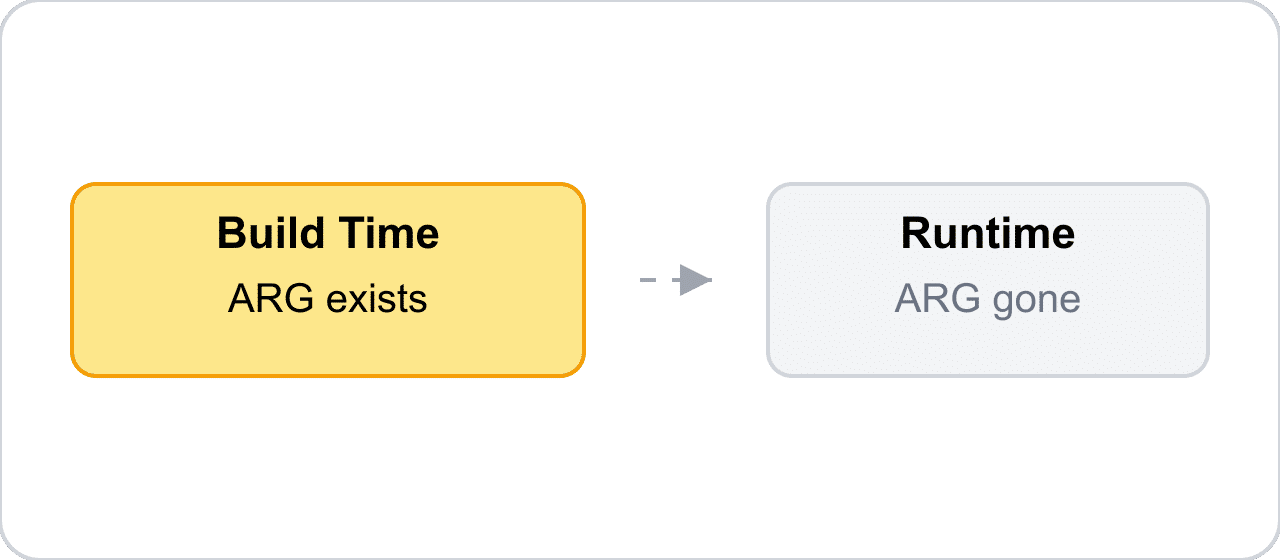
ARG is a build-time variable. It exists only during image creation — after docker build finishes, it's gone.
7. LABEL — Metadata Stickers
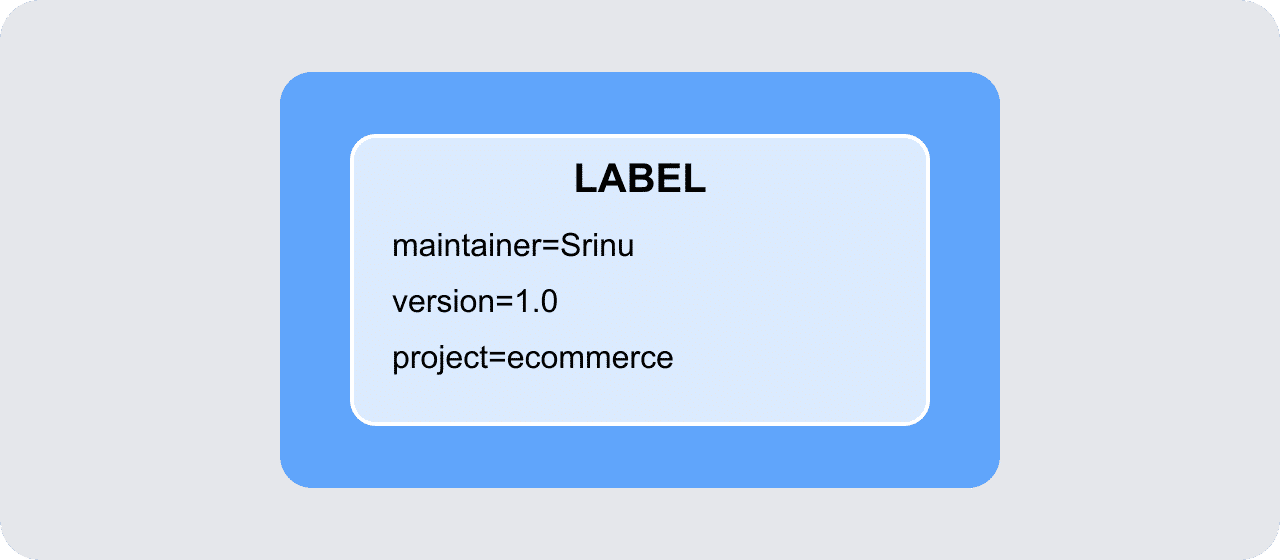
LABEL adds metadata to an image — maintainer, version, project name. Think of it like a product sticker: informative, but it doesn't affect the application at all.
8. ENV — Runtime Environment Variables
ENV creates environment variables that live inside the running container — your application reads them at runtime.
| ARG | ENV | |
|---|---|---|
| When it exists | Build time only | Runtime (and build) |
| After the build | Disappears | Stays in the container |
| Read by app code | ❌ | ✅ process.env.PORT |
9 & 10. CMD vs ENTRYPOINT — What Runs on Start
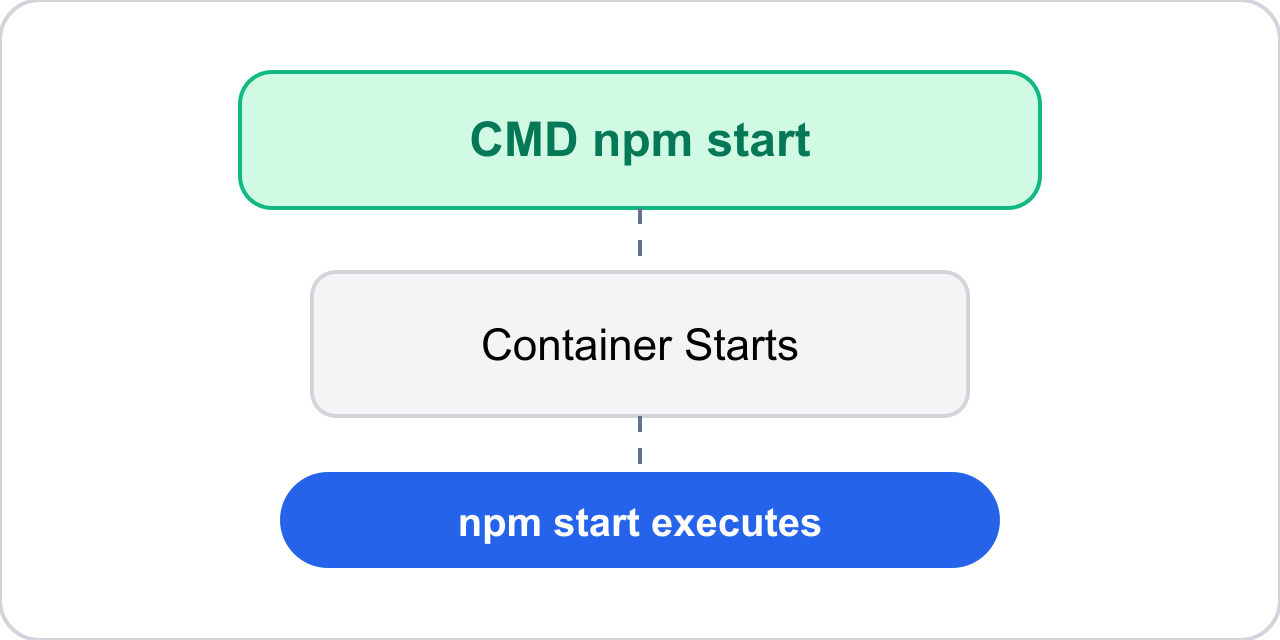
CMD is the default command when the container starts — and it's easily replaced. ENTRYPOINT is the fixed executable — whatever you pass at docker run becomes its argument, not its replacement.
| CMD | ENTRYPOINT | |
|---|---|---|
| Role | Default command | Fixed executable |
docker run image ls | Replaced by ls | ls becomes an argument |
| Typical use | Default args | Lock the binary |
11. HEALTHCHECK — Is the App Actually Alive?
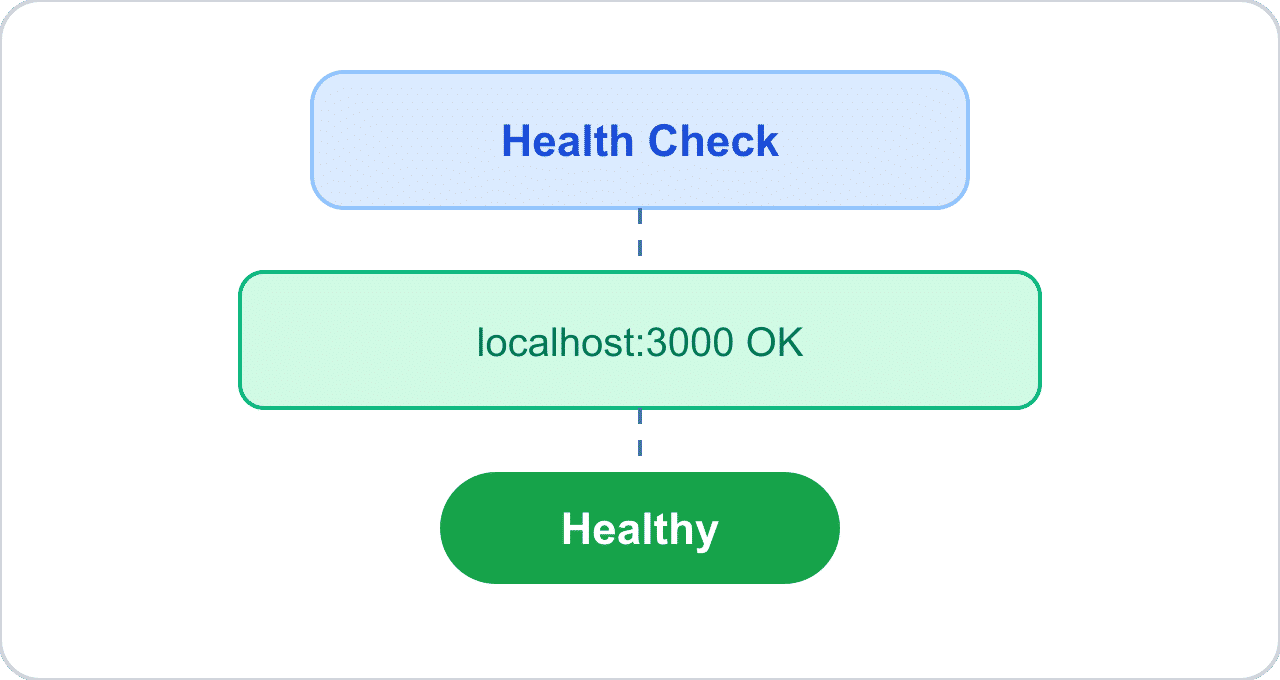
Here's the problem HEALTHCHECK solves: a container can be running while the application inside it is dead. Container ✅, Node server ❌ — and without a health check, Docker thinks everything is fine.
Every few seconds Docker runs the check command. If it keeps failing, the container's status flips to unhealthy — and orchestrators like Kubernetes and Docker Compose use exactly this signal to restart or replace dead containers.
12. EXPOSE — Documentation, Not a Door
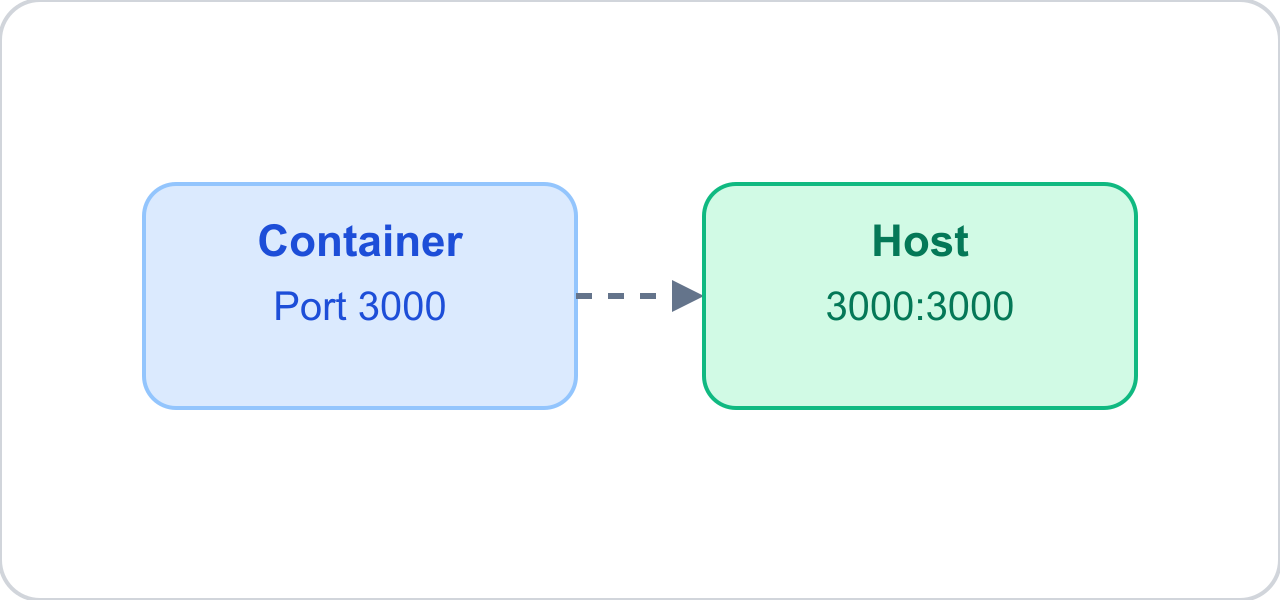
EXPOSE documents which port the application uses. It does not open the port — think of it as a label that says "my app listens on port 3000".
The port only becomes reachable when you publish it at runtime with -p 3000:3000 — mapping host port 3000 to container port 3000.
13. VOLUME — Data That Survives
Containers are temporary. Delete the container and every file inside it is gone — which for a database means data loss.
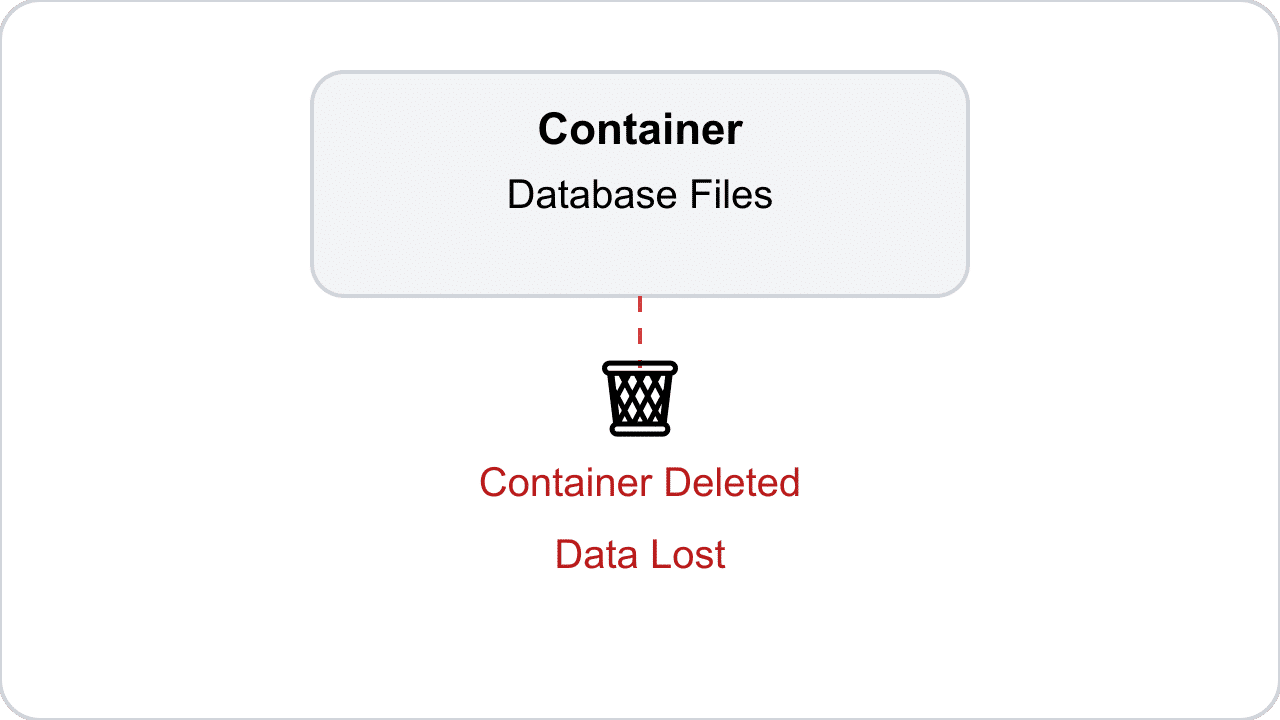
Perfect for MongoDB, PostgreSQL, MySQL, and uploaded files — anything that must outlive the container.
The Complete Lifecycle of Dockerfile Instructions
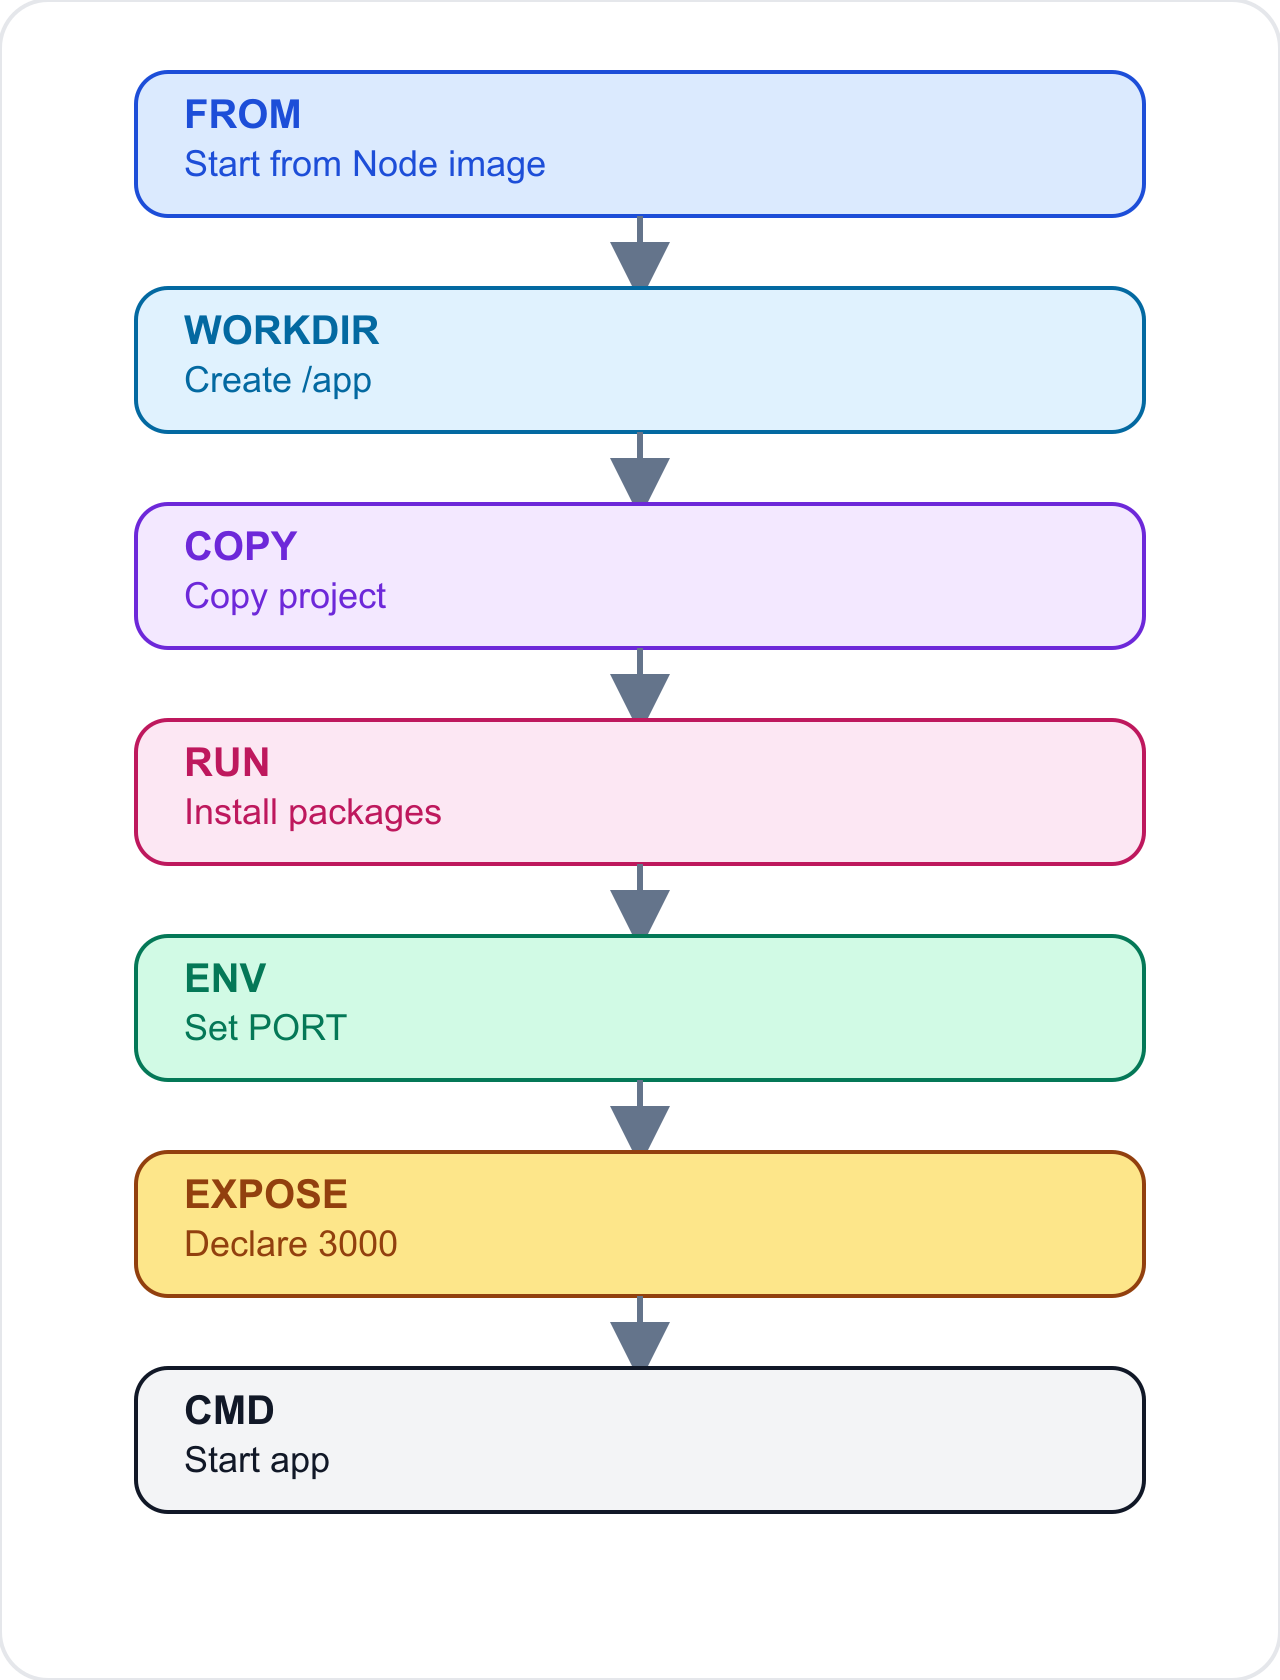
Put it all together and this is exactly what happens, in order, during docker build:
- FROM → download the base image
- WORKDIR → move into
/app - COPY → copy your source code
- RUN → install dependencies
- ENV → store environment variables
- EXPOSE → document the application port
- CMD → define what runs when the container starts
Build Time vs Runtime — The Interview Table
The single most common Docker interview question is which instruction works when. Here's the full map:
| Instruction | When it works |
|---|---|
FROM | Build time |
WORKDIR | Build time |
COPY | Build time |
ADD | Build time |
RUN | Build time |
ARG | Build time only |
LABEL | Build time |
ENV | Runtime + available after build |
EXPOSE | Runtime metadata |
VOLUME | Runtime storage |
CMD | Container start |
ENTRYPOINT | Container start |
HEALTHCHECK | After container starts |
For the full specification of every instruction and its flags, the official Dockerfile reference (opens in a new tab) is the source of truth.
What's Next
You now speak fluent Dockerfile: the 13 instructions, what Docker does internally at each one (layers, temporary containers, the build cache), the three interview pairs (COPY/ADD, CMD/ENTRYPOINT, ARG/ENV), why EXPOSE is documentation rather than a door, and how VOLUME keeps data alive across container deletions. The next article in the Docker series puts this vocabulary to work — Docker Multi-Stage Builds: splitting the Dockerfile into a build stage and a lean runtime stage, so the shipped image carries the compiled app without node_modules bloat, dev dependencies, or source code.
Continue to Docker Multi-Stage Builds →
Frequently Asked Questions
What is a Dockerfile and why does every image need FROM?
A Dockerfile is a plain-text recipe of instructions that Docker reads top to bottom to build an image — the packaged, runnable snapshot of your application. Every Dockerfile must begin with FROM because Docker images are built in layers, and FROM supplies layer one: the base image. Think of building a house — you don't start in the air, you start with a foundation. FROM node:22 gives you a Linux filesystem with Node.js 22 pre-installed; FROM ubuntu:24.04 gives you a bare Linux foundation. Docker downloads the base image from Docker Hub if it doesn't exist locally, then stacks every following instruction (WORKDIR, COPY, RUN, and so on) as a new layer on top of it.
What is the difference between COPY and ADD in a Dockerfile?
Both copy files from your machine into the image, but ADD has two extra features: it automatically extracts local tar archives (ADD app.tar.gz /app unpacks the archive into /app), and it can download files from URLs. The URL feature is not recommended — downloads through ADD have no checksum verification, no cache control, and bloat the image layer. The practical rule is to use COPY 95% of the time because it is explicit and predictable, and reach for ADD only when you genuinely need automatic tar extraction. If you need a remote file, prefer RUN curl or RUN wget so you can verify and clean up in the same layer.
What is the difference between CMD and ENTRYPOINT in Docker?
Both define what runs when the container starts, but they differ in how easily they are replaced. CMD is the default command — docker run my-image ls completely replaces CMD with ls. ENTRYPOINT is the fixed executable — anything you pass after the image name becomes an argument to it, not a replacement: with ENTRYPOINT ["node"], running docker run my-image server.js executes node server.js. The production pattern combines them: ENTRYPOINT ["node"] plus CMD ["server.js"] runs node server.js by default, and a user can swap only the argument (docker run my-image app.js executes node app.js) while the executable stays locked.
What is the difference between ARG and ENV in a Dockerfile?
ARG is a build-time variable: it exists only while docker build runs and disappears completely once the image is built — the running container has no access to it. It is used to parameterize the build itself, for example ARG NODE_VERSION=22 with FROM node:$NODE_VERSION, overridden with docker build --build-arg NODE_VERSION=20. ENV is a runtime variable: it is baked into the image and stays available inside every container started from it, so application code can read it — ENV PORT=3000 is visible to Node.js as process.env.PORT. The one-line summary for interviews: ARG configures the build, ENV configures the running application.
Does EXPOSE actually open a port in Docker?
No. EXPOSE 3000 is documentation, not a firewall rule — it records that the application inside the container listens on port 3000, but it does not make that port reachable from the host. To actually reach the application you must publish the port at runtime with docker run -p 3000:3000 my-image, which maps host port 3000 to container port 3000. EXPOSE still matters: it tells other developers (and tools like Docker Compose and Kubernetes) which port the container expects traffic on, and docker run -P uses the EXPOSE list to auto-publish ports. Think of EXPOSE as the label on the box and -p as actually plugging in the cable.
Which Dockerfile instructions run at build time and which at runtime?
Build-time instructions execute while docker build creates the image: FROM (download base image), WORKDIR (create and switch folder), COPY and ADD (bring files in), RUN (execute commands and save the result as a layer), ARG (build-only variable that disappears afterwards), and LABEL (attach metadata). Runtime-relevant instructions take effect when a container starts or runs: CMD and ENTRYPOINT (the startup command), ENV (variables set at build but readable by the running app), EXPOSE (runtime port metadata), VOLUME (runtime persistent storage), and HEALTHCHECK (probes that run repeatedly after the container starts). This build-time versus runtime split is one of the most common Docker interview questions.
How do I keep data when a Docker container is deleted?
Use a volume. Containers are temporary by design — deleting a container deletes every file written inside its writable layer, which for a database container means total data loss. The VOLUME instruction (for example VOLUME /data) tells Docker to store that path outside the container in a managed volume on the host machine. When the container is deleted, the volume survives; start a new container attached to the same volume and the data is still there. This is the standard pattern for MongoDB, PostgreSQL, MySQL, and uploaded files. At runtime you attach volumes explicitly with docker run -v mydata:/data, and Docker Compose and Kubernetes have first-class equivalents (volumes and PersistentVolumeClaims).